Creating Depth: Techniques for Effective Relief Carving
Understanding the Basics of Relief Carving
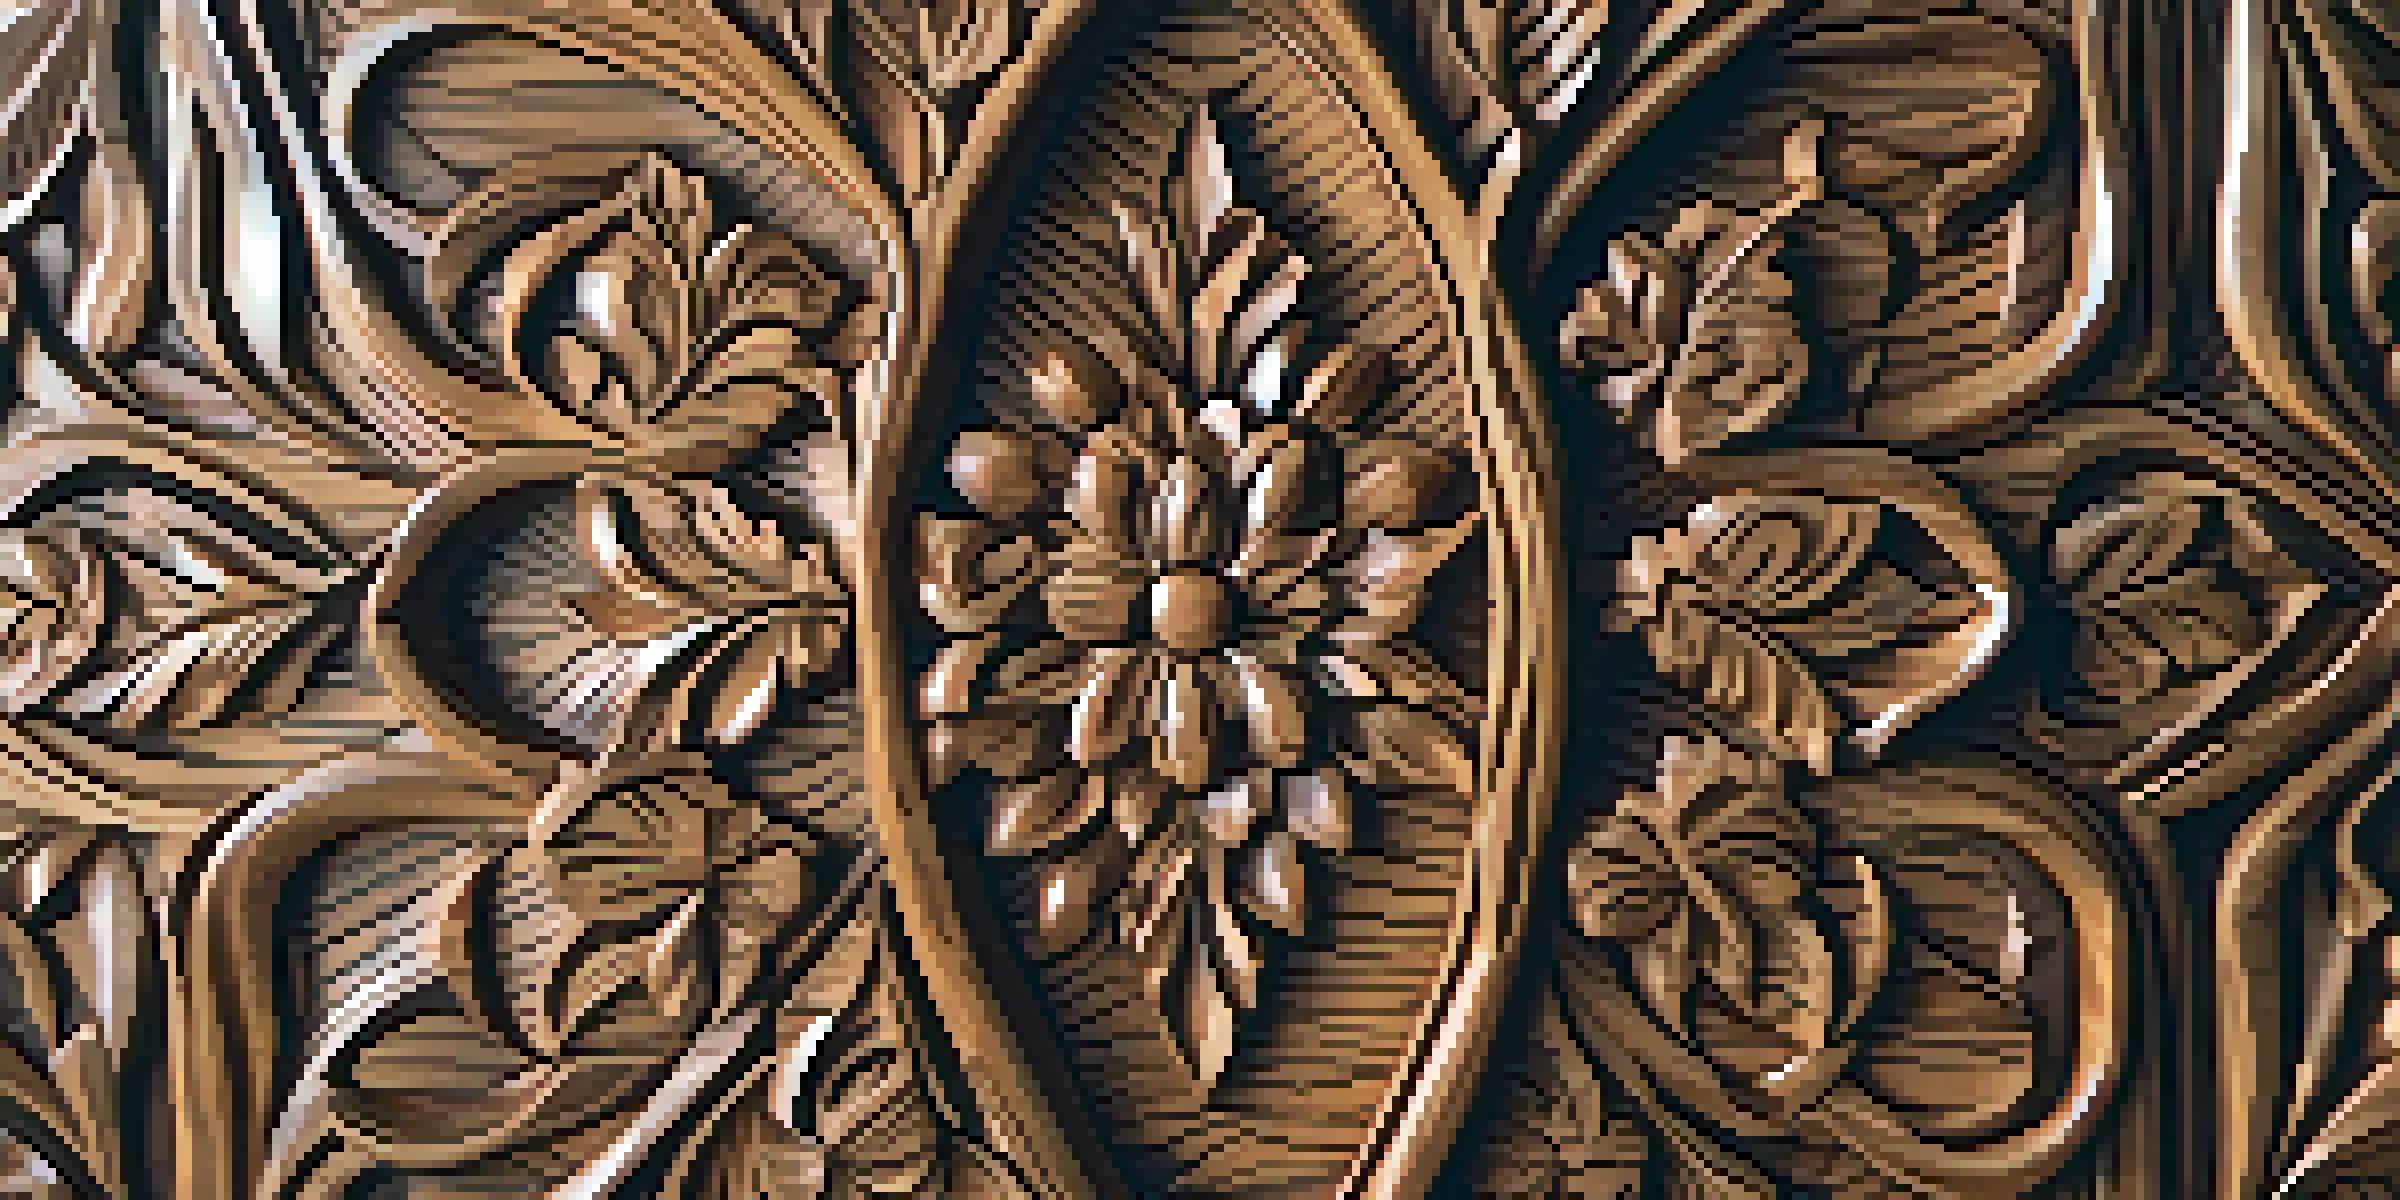
Relief carving is a fascinating technique that transforms a flat surface into a three-dimensional masterpiece. By removing material from a block of wood or other mediums, you create designs that seem to pop right out. This art form ranges from shallow relief, where the image is slightly raised, to deep relief, which features more pronounced dimensions. Familiarizing yourself with these fundamentals helps set the stage for mastering more intricate techniques.
The artist is a receptacle for the emotions that come from all over the place: from the sky, from the earth, from a scrap of paper, from a passing stranger.
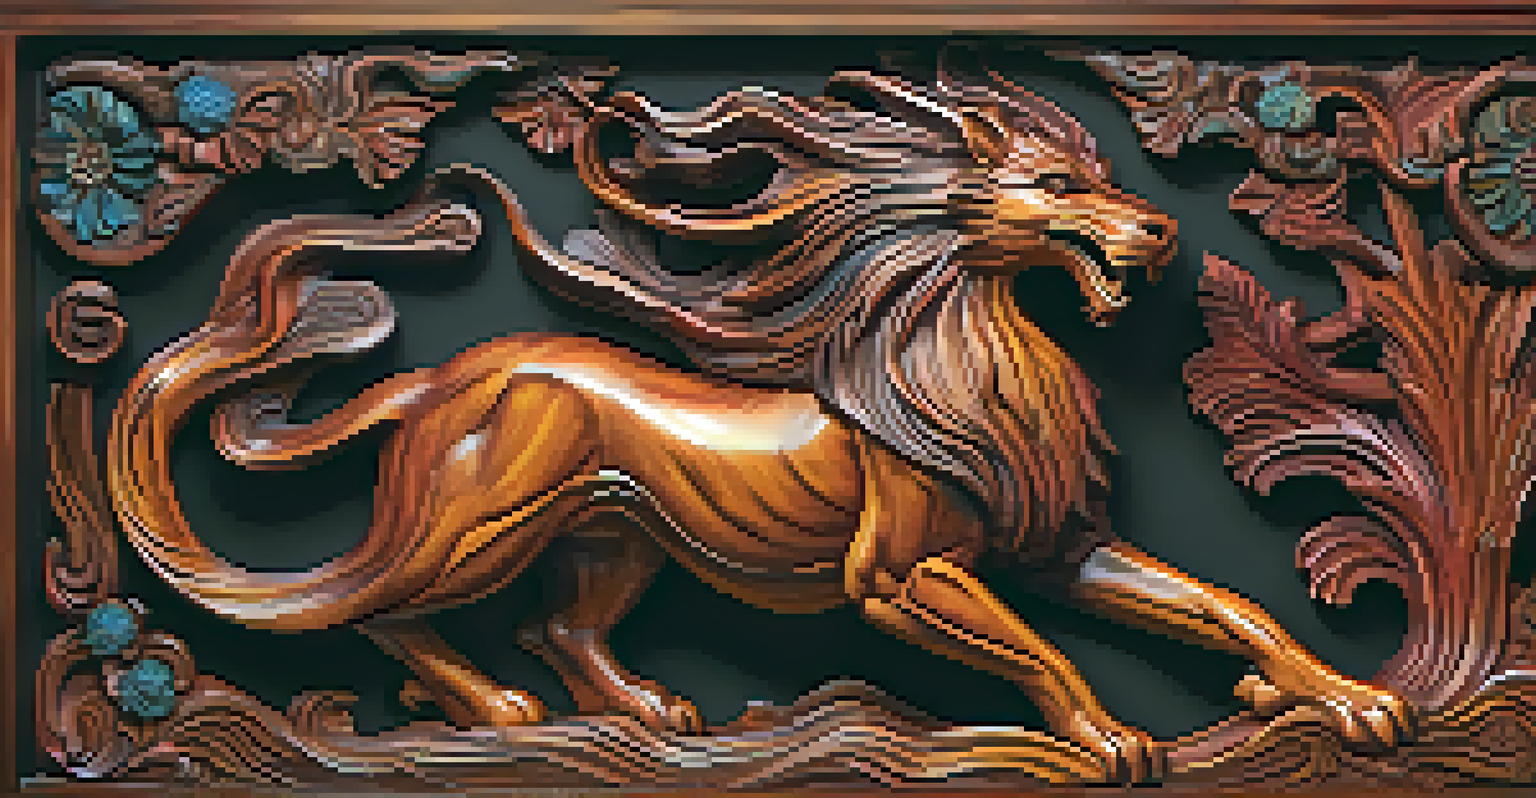
The beauty of relief carving lies in its versatility. Artists can create anything from intricate floral patterns to lifelike figures, making it a popular choice for both beginners and seasoned craftsmen. Understanding the different styles and depths in relief carving allows you to choose the right approach for your project. The key is to envision how your design will interact with light and shadow, as this greatly influences the final appearance.
Related Resource
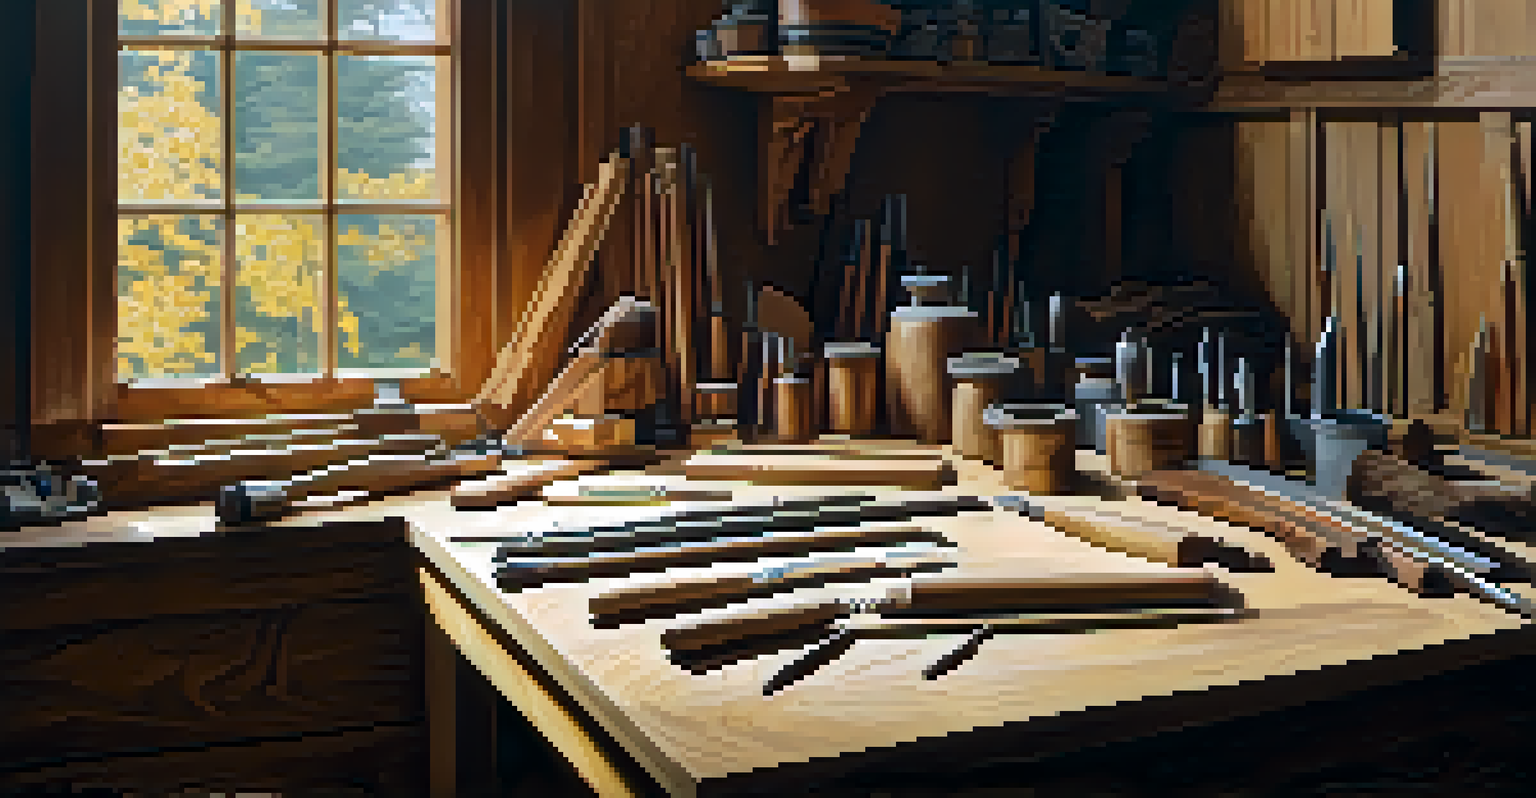
As you delve into relief carving, consider the tools at your disposal. Chisels, gouges, and knives each have distinct roles in shaping your artwork. Getting comfortable with these tools will enhance your carving skills and enable you to achieve the desired depth and detail. After all, the right tools can make a world of difference in transforming your vision into a tangible piece of art.
Choosing the Right Material for Carving
The material you select plays a crucial role in the relief carving process. Softwoods, like pine and basswood, are ideal for beginners due to their workability and forgiving nature. They allow for easier cuts and less risk of chipping, making them perfect for practicing your techniques. However, don’t overlook hardwoods, which can offer stunning results but may require more advanced skills.
Consider also the grain of the wood. A straight, tight grain will provide a cleaner finish and allow for more precise detailing. In contrast, a more pronounced grain can add character but may complicate the carving process. As you experiment with different materials, you’ll discover how each influences the visual and tactile quality of your finished piece.
Relief Carving Basics Explained
Understanding the fundamentals of relief carving, such as depth and tool selection, is essential for creating stunning three-dimensional art.
Lastly, think about the thickness of the material. Thicker pieces can accommodate deeper carvings, while thinner ones may limit your design options. Assessing your project’s requirements will guide you in choosing the right material, ensuring that it complements your artistic vision while being suitable for your skill level.
Planning Your Design for Optimal Depth
Before you start carving, a solid design plan is essential for achieving depth. Sketch your ideas on paper, focusing on how different elements will interact in three dimensions. This preliminary step allows you to visualize the final outcome and adjust your design as needed. Remember, a well-thought-out plan can save you time and effort during the carving process.
Every artist was first an amateur.
One effective approach is to use layering techniques in your design. By incorporating multiple layers, you create contrast and depth that draws the viewer's eye. For instance, foreground elements can be raised higher than background ones to enhance the three-dimensional effect. This technique not only adds visual interest but also highlights the craftsmanship involved in your relief carving.
Related Resource
Moreover, consider the play of light and shadow in your design. Strategically placing deeper cuts can cast shadows that enhance the overall depth of your piece. As you plan, keep in mind how light will interact with your carving; this will help you make informed decisions that elevate your work and showcase your artistic intent.
Mastering Tool Techniques for Depth Creation
Tool techniques are fundamental to creating depth in relief carving. Learning to control your chisels and gouges can lead to various effects, from fine details to bold cuts. For instance, using a wide gouge can help remove larger areas quickly, establishing a base layer for your design. Conversely, smaller tools are perfect for adding intricate details that bring your carving to life.
A popular technique for achieving depth is the 'stop cut.' This involves making a cut at the desired depth to create defined edges. By combining stop cuts with other techniques, you can create smooth transitions and realistic depth in your design. Practicing these techniques will improve your precision and enhance your overall carving skills.
Choosing Materials Wisely
Selecting the right materials, including softwoods and hardwoods, significantly impacts the carving process and the final appearance of your work.
Don't forget the importance of angle and pressure when carving. Adjusting your tool angle can significantly impact how deep or shallow your cuts appear. Additionally, varying the pressure you apply can create different textures, further contributing to the depth of your piece. As you practice, pay attention to how these factors influence the final outcome of your relief carving.
Incorporating Texture for Visual Interest
Texture is one of the critical elements that can elevate your relief carving. By varying the surface texture, you can create a dynamic interplay of light and shadow, further enhancing the perception of depth. For instance, a smooth finish on certain areas can contrast beautifully with rough, chiseled sections. This contrast draws the viewer's eye and adds a tactile element to your artwork.
Experimenting with different texturing techniques can yield impressive results. Techniques such as stippling, which involves creating a series of small dots, or using a wire brush for a more rugged finish can add unique character. Each texture tells a story and can evoke different feelings, making your carving more engaging and personal.
Related Resource
Moreover, consider how texture relates to the subject matter of your carving. For example, a bark texture might be appropriate for a tree, while a smooth surface might suit a flowing fabric. By thoughtfully incorporating texture, you not only enhance visual interest but also create a more authentic representation of your subject.
Finishing Techniques to Enhance Depth
Once you’ve completed your carving, finishing techniques can significantly enhance the depth of your work. Sanding is a crucial step that ensures a smooth surface, allowing your design to shine. By carefully sanding different areas, you can create subtle variations in texture that further highlight the depth you've achieved. Remember, taking your time during this step pays off in the final product.
Staining or painting your relief carving can also bring out its depth. A well-chosen stain can accentuate the wood grain and add warmth, while paints can introduce vibrant colors that draw attention to specific areas. Consider using lighter colors for raised sections and darker shades for recessed areas, creating a striking contrast that enhances the three-dimensional effect.
Enhancing Depth with Techniques
Employing various carving techniques and finishing touches can elevate the depth and visual interest of your relief carvings.
Finally, applying a protective finish, such as varnish or oil, not only preserves your work but can also add a slight sheen that highlights the depth and detail of your carving. These finishing touches transform your piece from a mere carving into a stunning work of art, inviting viewers to appreciate the craftsmanship and creativity behind it.
Troubleshooting Common Carving Challenges
Even experienced carvers encounter challenges along the way. One common issue is over-carving, where too much material is removed, resulting in a loss of depth. To avoid this, regularly step back and assess your work from a distance. This practice provides perspective and helps you determine if you need to adjust your approach, ensuring you maintain the desired depth and detail in your carving.
Another challenge is dealing with wood grain direction. Carving against the grain can lead to tear-out and uneven surfaces, detracting from the overall finish. Always pay attention to the grain and adjust your carving technique accordingly. Learning to work with the grain rather than against it will yield smoother results and enhance the overall quality of your relief carving.
Lastly, remember that practice makes perfect. Every carving project is an opportunity to learn and improve your skills. Don’t be discouraged by mistakes; instead, view them as stepping stones to becoming a more proficient carver. Embrace the journey, and with each piece you create, you’ll develop a deeper understanding of effective relief carving techniques.