Chip Carving Techniques: Tools and Tips for Success
Understanding the Basics of Chip Carving Techniques
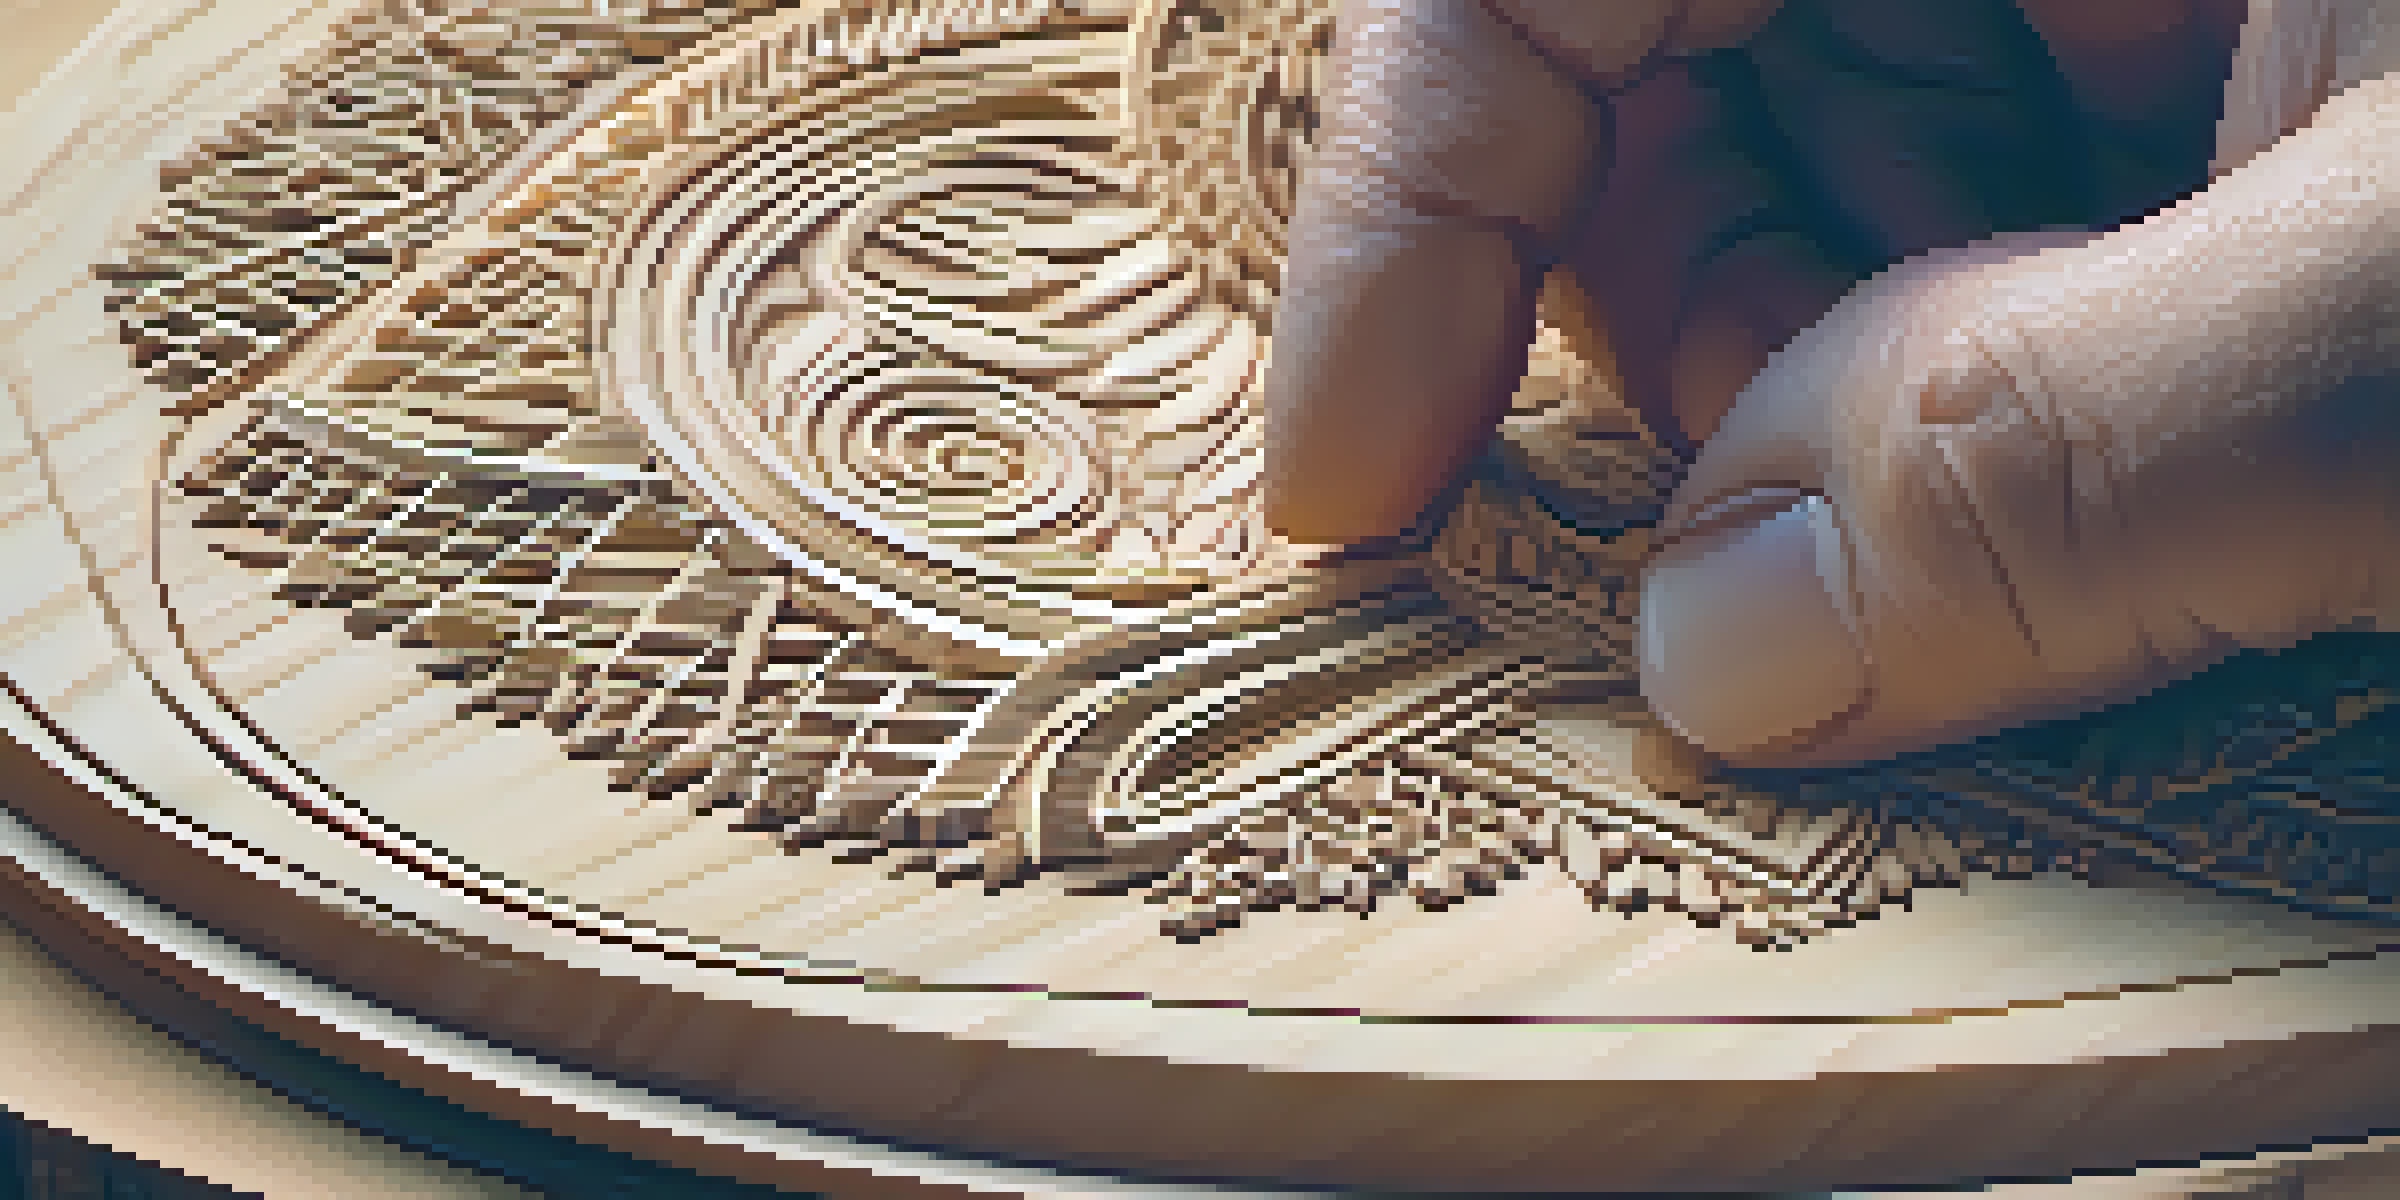
Chip carving is a decorative woodworking technique that involves removing small chips of wood to create intricate designs. It's an art form that dates back centuries and can transform a simple piece of wood into a stunning work of art. By mastering the basics, you'll be able to create beautiful patterns and shapes that showcase your creativity.
Every artist was first an amateur.
At its core, chip carving relies on a few fundamental techniques, such as creating V-cuts and removing chips in a controlled manner. As you start, it’s essential to practice these techniques to develop your skills and build confidence. Consider starting with simple designs before moving on to more complex patterns.
Related Resource
Remember, patience is key in chip carving. Each cut you make is an opportunity to refine your technique and improve your craftsmanship. With time and practice, you'll find that each chip removed adds to your artistic expression.
Essential Tools for Successful Chip Carving
Having the right tools can make all the difference in your chip carving journey. The most important tool is a chip carving knife, which is designed specifically for making precise cuts. Look for a knife with a comfortable handle and a sharp blade to ensure clean, controlled cuts.
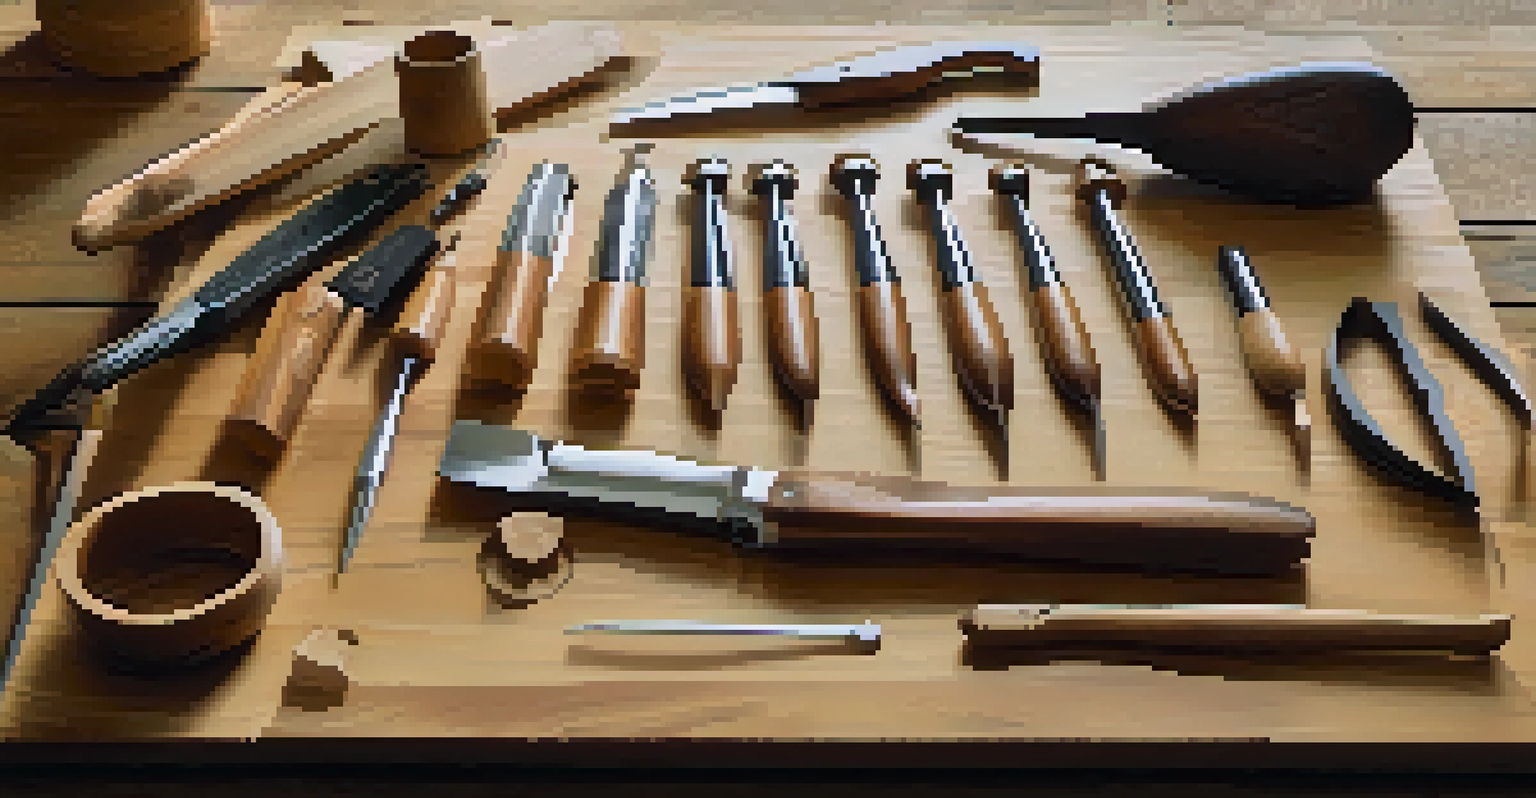
Alongside the chip carving knife, a few other tools will enhance your carving experience. These include a V-tool for creating deeper lines and a detail knife for intricate work. Investing in high-quality tools not only improves your results but also makes the process more enjoyable.
Master Basic Chip Carving Techniques
Learning fundamental cuts like V-cuts and stop cuts is essential for building confidence and improving your chip carving skills.
Don't forget about safety equipment, such as a sturdy cutting board and protective gloves. Taking these precautions will help you maintain focus on your art while minimizing the risk of accidents. A well-equipped workspace sets the stage for successful chip carving.
Choosing the Right Wood for Chip Carving
The type of wood you choose can significantly impact your chip carving results. Softwoods, like basswood or pine, are often preferred by beginners due to their ease of carving and smooth texture. These woods allow for clean cuts and are forgiving if mistakes are made.
Art is not freedom from discipline, but disciplined freedom.
On the other hand, hardwoods like walnut and cherry can produce stunning results but may require more skill to carve. They can be more challenging to work with, so it’s advisable to practice on softer woods before tackling hardwood projects. Each type of wood offers unique characteristics that can enhance your designs.
Related Resource
Ultimately, the right wood for your chip carving depends on your project and skill level. Experimenting with different woods can also lead to exciting discoveries and a deeper appreciation for the craft.
Learning Essential Chip Carving Techniques
To become proficient in chip carving, you'll need to learn and practice a few essential techniques. Start with basic cuts, such as the V-cut, which forms the foundation for many designs. By mastering the V-cut, you'll gain the confidence to explore more advanced techniques.
Another important technique is the stop cut, which is used to define the edges of your design. This helps create clean lines and prevents the wood from splintering during carving. Practicing these cuts will improve your overall technique and lead to more polished results.
Choose the Right Wood for Projects
Selecting suitable woods, such as softwoods for beginners, can greatly influence the success and ease of your chip carving endeavors.
Don't hesitate to seek out tutorials, videos, or local workshops to expand your skill set. Engaging with a community of fellow carvers can provide valuable feedback and inspiration as you hone your chip carving abilities.
Incorporating Design Elements into Your Chip Carving
Once you're comfortable with the basic techniques, it's time to explore design elements in your chip carving. Patterns can range from geometric shapes to floral motifs, and incorporating these elements adds character to your work. Sketching your designs on paper before transferring them to wood can help you visualize the final outcome.
Consider using templates to guide your carving, especially when you're starting. Templates can take the guesswork out of design and allow you to focus on perfecting your technique. As you gain confidence, you can experiment with freehand designs to express your unique style.
Related Resource
Remember, the beauty of chip carving lies in your creativity. Don’t be afraid to combine multiple design elements or even develop your own signature patterns. This personal touch will make your work stand out and reflect your artistic vision.
Finishing Techniques for a Polished Look
After completing your chip carving project, finishing techniques are crucial for achieving a polished look. Sanding is often the first step, which helps smooth out any rough edges and prepares the surface for finishing products. A fine-grit sandpaper can work wonders without damaging your intricate designs.
Once sanded, you may choose to apply a wood finish, such as oil or varnish, to enhance the natural beauty of the wood. These finishes not only protect your work but also bring out the rich colors and textures of the wood. Always test your finish on a scrap piece to ensure it achieves the desired effect.
Incorporate Design Elements Creatively
Exploring various design patterns and personalizing your work will enhance your artistic expression in chip carving.
Finally, remember to clean your carving tools and workspace after each project. Proper maintenance of your tools will extend their lifespan and keep them ready for your next artistic endeavor. A clean workspace fosters creativity and helps you stay organized.
Troubleshooting Common Chip Carving Challenges
Even experienced carvers encounter challenges along the way. Common issues include chipping or splintering, which can occur if the wood is too dry or if the blade isn't sharp enough. Regularly honing your knife and ensuring your wood is properly stored can help prevent these problems.
Another challenge might be achieving consistent depth in your cuts. Practice is key, so take your time and focus on your technique. Using a depth guide can also help maintain uniformity and improve your overall results.

Lastly, don’t be discouraged by mistakes. Every carving has its learning moments, and each project is an opportunity to grow as an artist. Embrace the journey and keep experimenting with your chip carving skills.